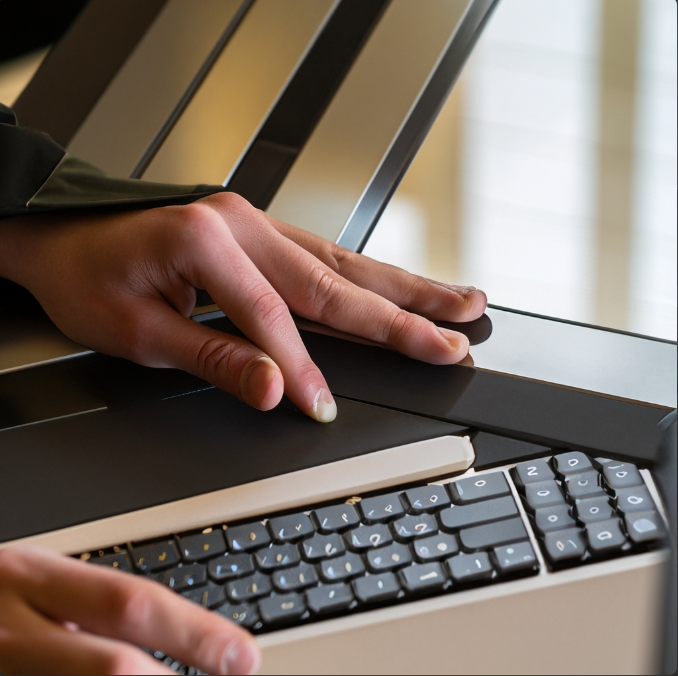
Hello, fellow desk dwellers and aspiring DIY adventurers! Are you tired of feeling like your keyboard is lost in the sea of clutter on your desk? Do you dream of a more organized and ergonomic workspace? Well, guess what? You can attach a keyboard tray to your desk, and we’re here to show you how! In this comprehensive and friendly guide, we’ll take you on a thrilling journey of desk transformation. So, fasten your seatbelts, grab your tools, and let’s dive into the exciting world of DIY desk improvement!
Materials You’ll Need
Before we embark on this thrilling DIY adventure, let’s gather the essential materials for this project:
- A sturdy keyboard tray with slides (available at hardware stores or online)
- Measuring tape
- Pencil
- Screwdriver or power drill
- Screws
- Optional: Mounting brackets or spacers (if your desk requires additional support)
Step 1: Measure Your Desk and Tray
First things first, measure the width and depth of your desk’s underside to determine the ideal location for the keyboard tray. Then, measure the dimensions of your chosen keyboard tray to ensure it fits comfortably. With your measurements in hand, it’s time to map out the path to a clutter-free and ergonomic desk setup!
Step 2: Find the Perfect Spot
Ah, the quest for the perfect spot! Place the keyboard tray on the underside of your desk and position it according to your measurements. Ensure it aligns with your preferred typing position, allowing for ample legroom and wrist comfort.
Step 3: Mark the Mounting Points
Ahoy, mateys! With your keyboard tray in place, use a pencil to mark the mounting points on the desk. These will serve as your guiding stars during the installation process.
Step 4: Get Ready to Install
Shiver me timbers! It’s time to prepare for installation. If your keyboard tray comes with slides, attach them to the tray’s underside using screws and a screwdriver. Make sure the slides are secure, as they will be your trusty companions during your desk transformation journey!
Step 5: Ready the Desk for Adventure
Before diving headfirst into installation, it’s essential to prepare your desk for the upcoming adventure. If your desk has pre-drilled holes for keyboard tray installation, congratulations! You’re one step closer to a clutter-free desk. If not, don’t fret! You can create the mounting points by drilling holes at the previously marked spots.
Step 6: Attach the Slides
Ahoy, landlubbers! It’s time to attach the slides to the underside of your desk. If your desk is made of solid wood, attach the slides directly to the wood using screws and a screwdriver, or a power drill. If your desk has a particleboard or veneer surface, use mounting brackets or spacers to provide additional support for the slides.
Step 7: Slide into Comfort
Yo-ho-ho, the moment of truth! Slide your keyboard tray onto the installed slides. Ensure it glides smoothly and effortlessly. Ah, the joy of a clutter-free and ergonomic desk awaits you!
Step 8: Test Your Creation of Attach a Keyboard Tray to Desk?
Huzzah! Test the keyboard tray’s sliding action by pulling it in and out. Celebrate the success of your DIY installation as you witness your desk’s transformation into an organized and ergonomic haven.
Step 9: Optional: Personalize Your Space
Ahoy, creative souls! If you’re feeling adventurous, why not add a personal touch to your newly transformed desk? Consider decorating the tray or the surrounding area to match your style and personality. Your workspace is your canvas, so let your creativity run wild!
Step 10: Embrace the Ergonomic Bliss
Congratulations, desk adventurer! You’ve successfully added a keyboard tray to your desk, transforming it into a clutter-free and ergonomic oasis. Embrace the newfound comfort and productivity that comes with an organized workspace. Let the ergonomic bliss of your DIY creation take your productivity to new heights.
Conclusion of Attach a Keyboard Tray to Desk?
Ahoy, brave DIY enthusiasts! You’ve completed your desk transformation with flying colors. With your newly added keyboard tray, your desk is now a haven of organization and ergonomic comfort. Embrace the productivity and joy that come with a clutter-free workspace. You’ve set sail on a journey of DIY desk improvement and emerged victorious! So, whether you’re typing up reports, composing emails, or unleashing your creative genius, your ergonomic desk setup will be your trusty companion on your quests for productivity and success. Yo-ho-ho, onward to an organized and ergonomic workspace! Happy sailing, me hearties!

